
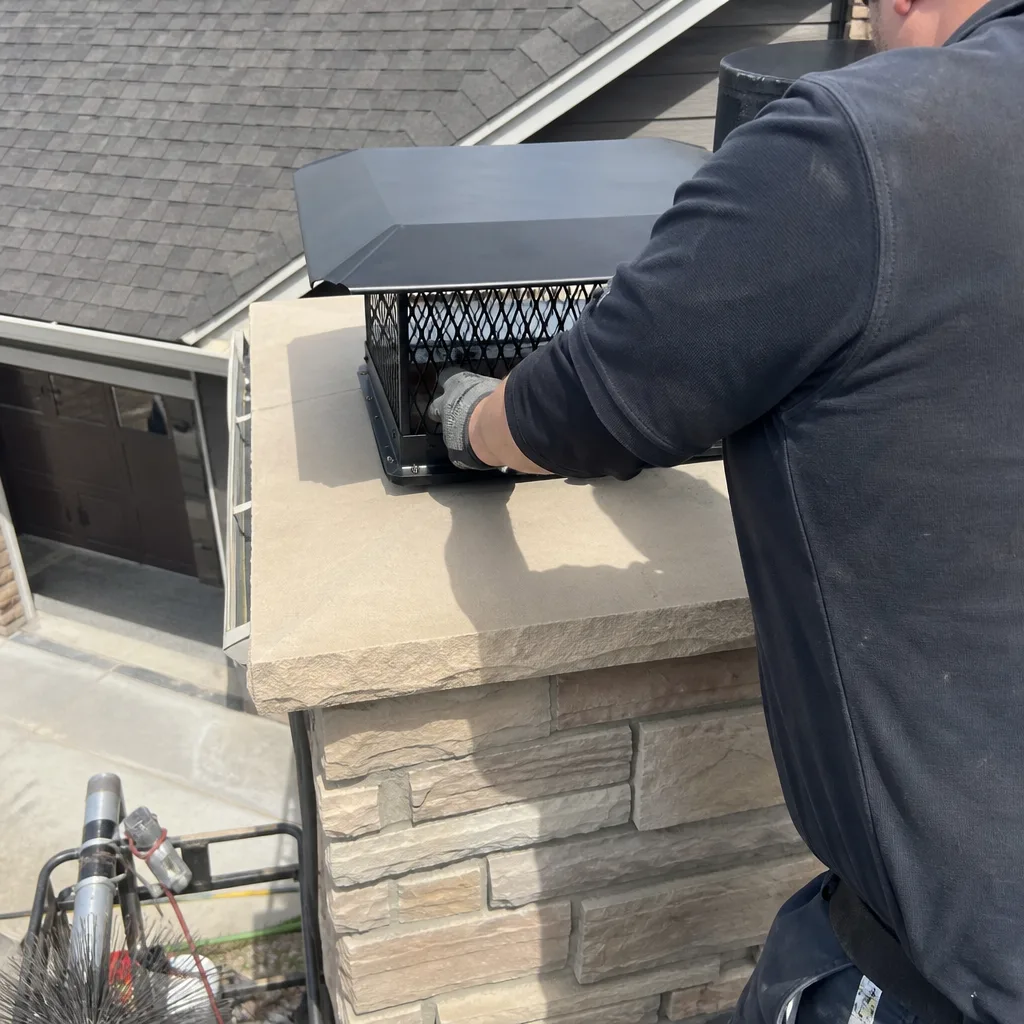
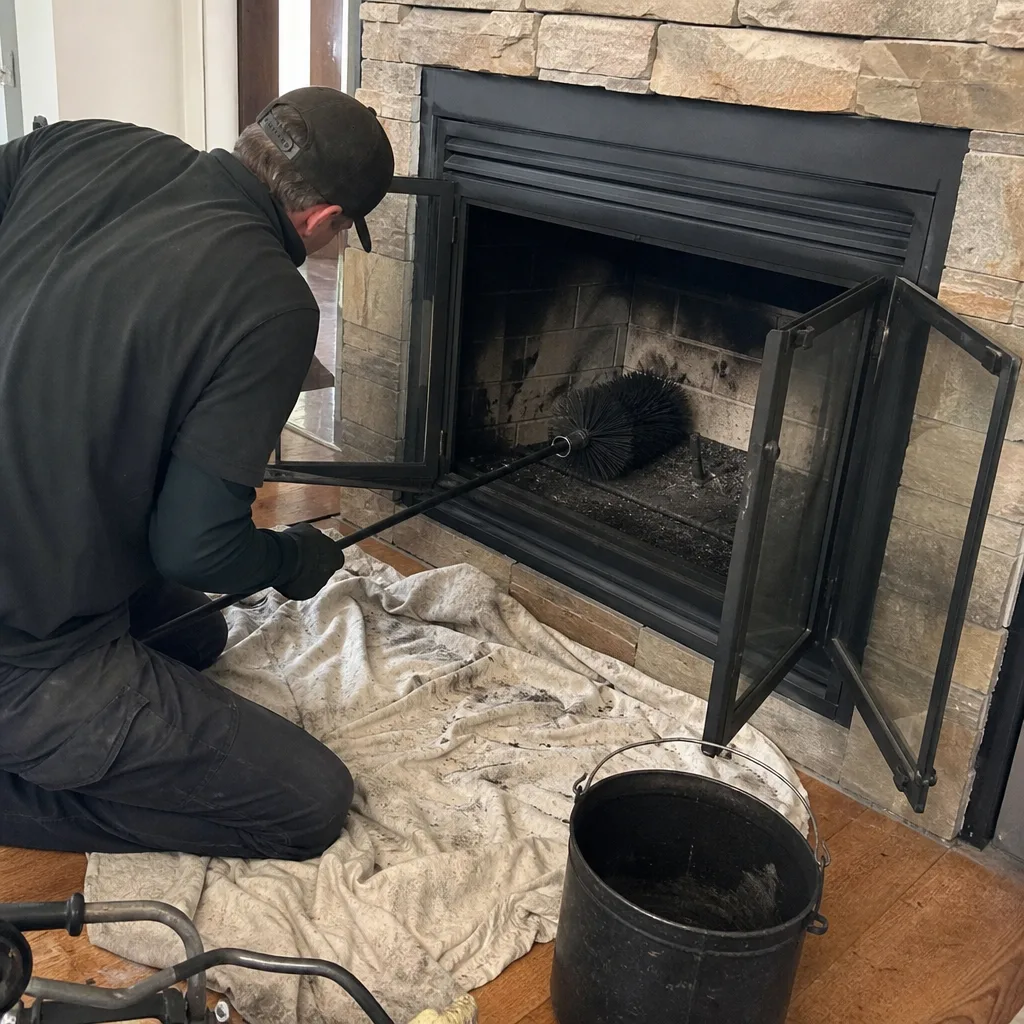
Level 1 sweep and inspection to the NFPA 211 annual standard - flue, crown, cap, and flashing checked and photographed
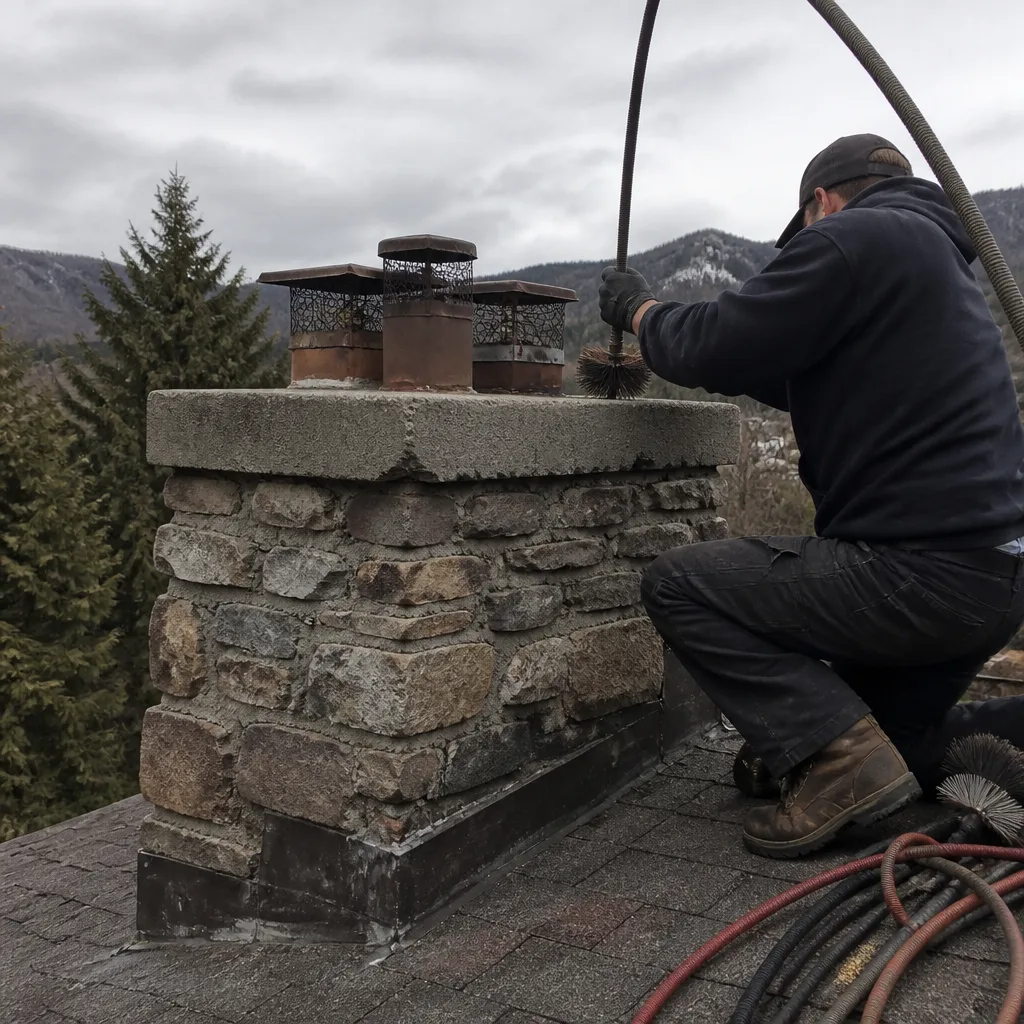
Chimney sweep logs do not sweep chimneys. They loosen some creosote - which then falls where a brush and vacuum still have to collect it.
 Before
 After
After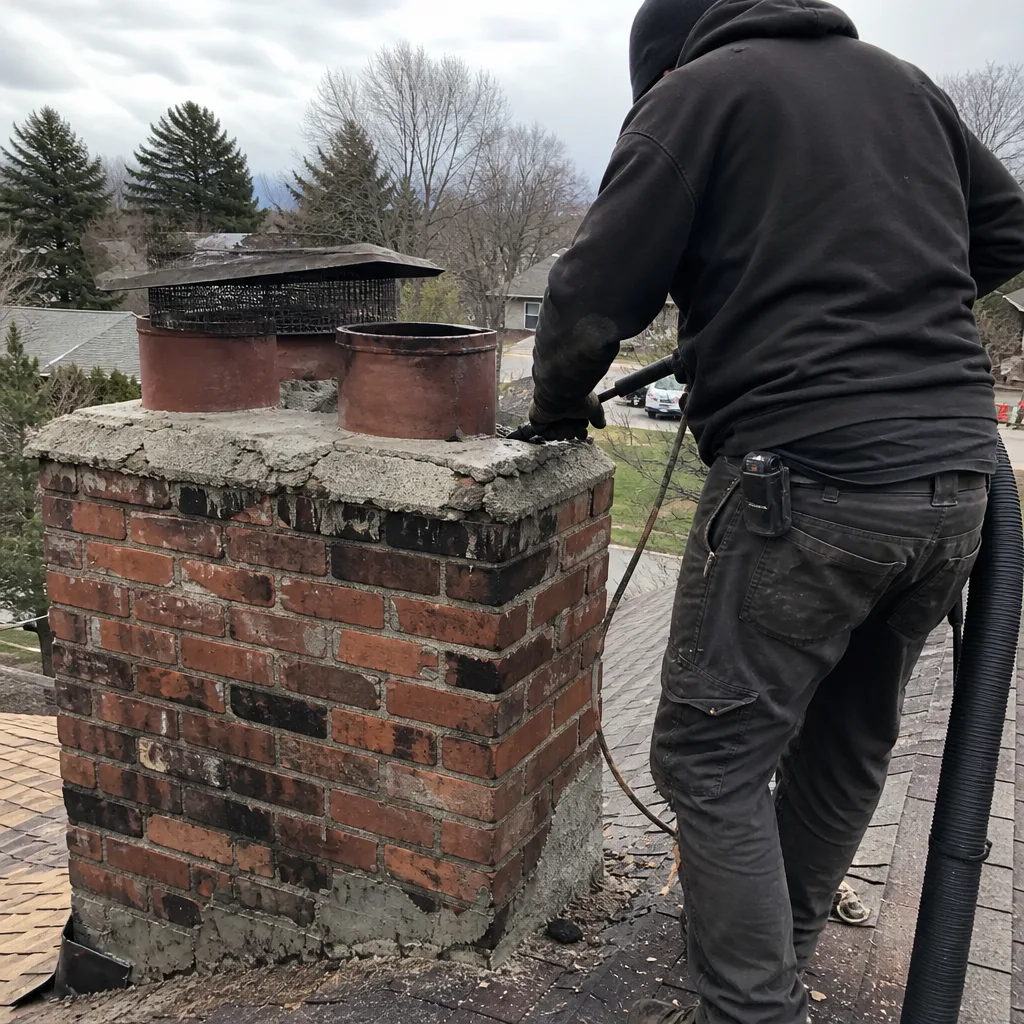 Before
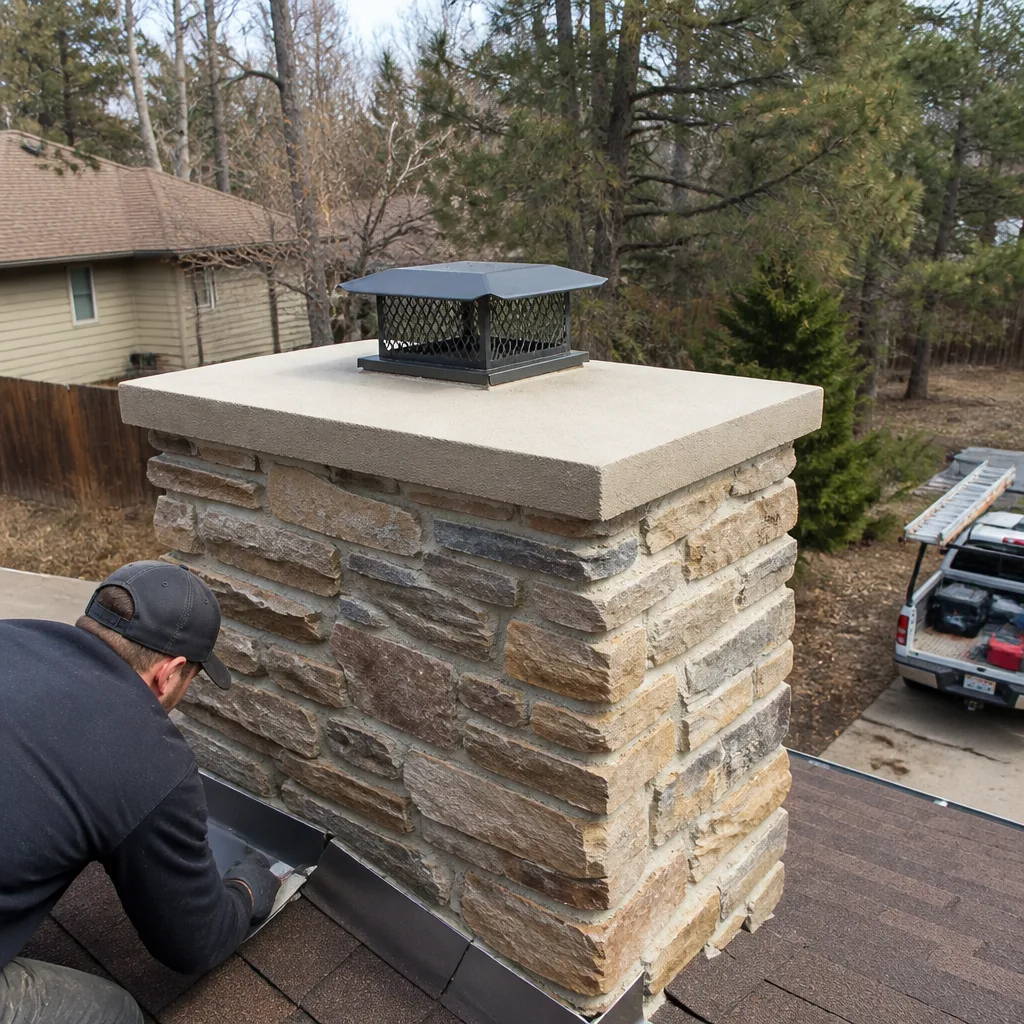 After
After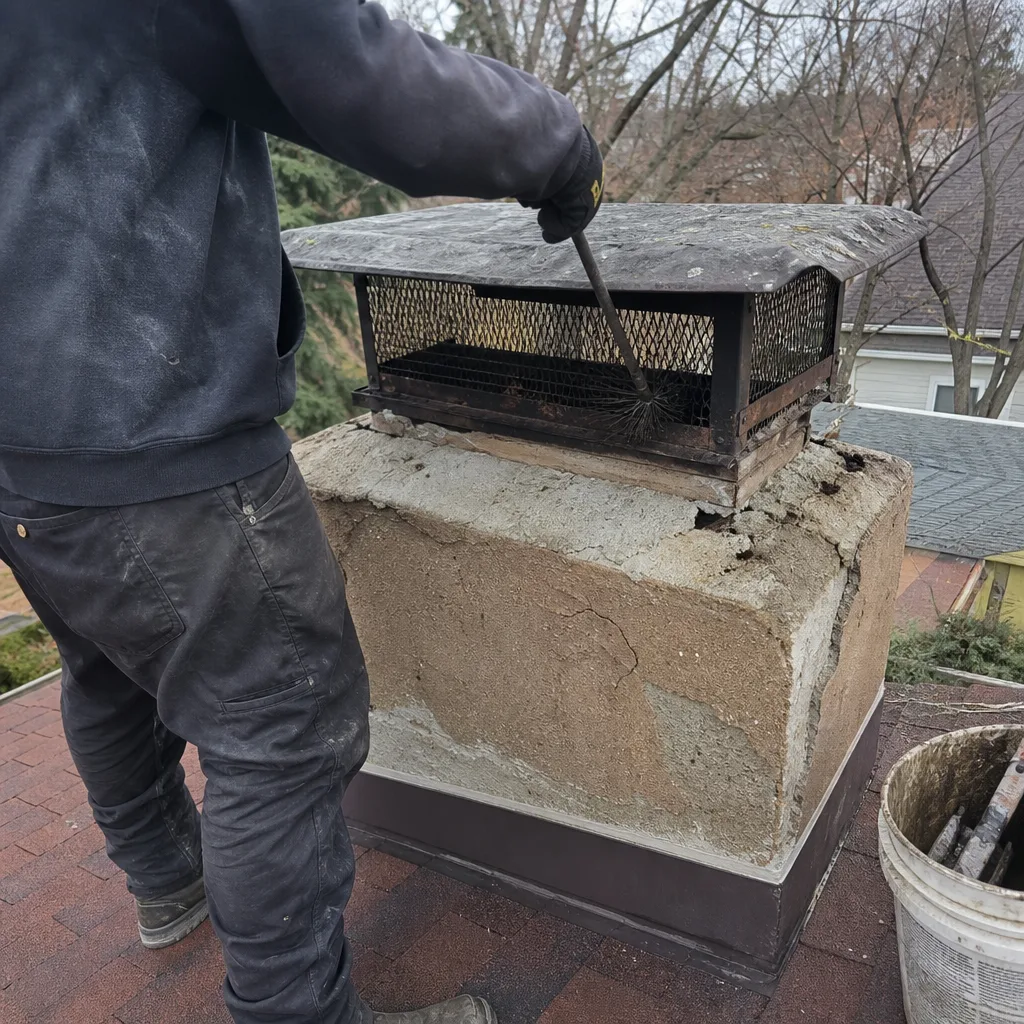 Before
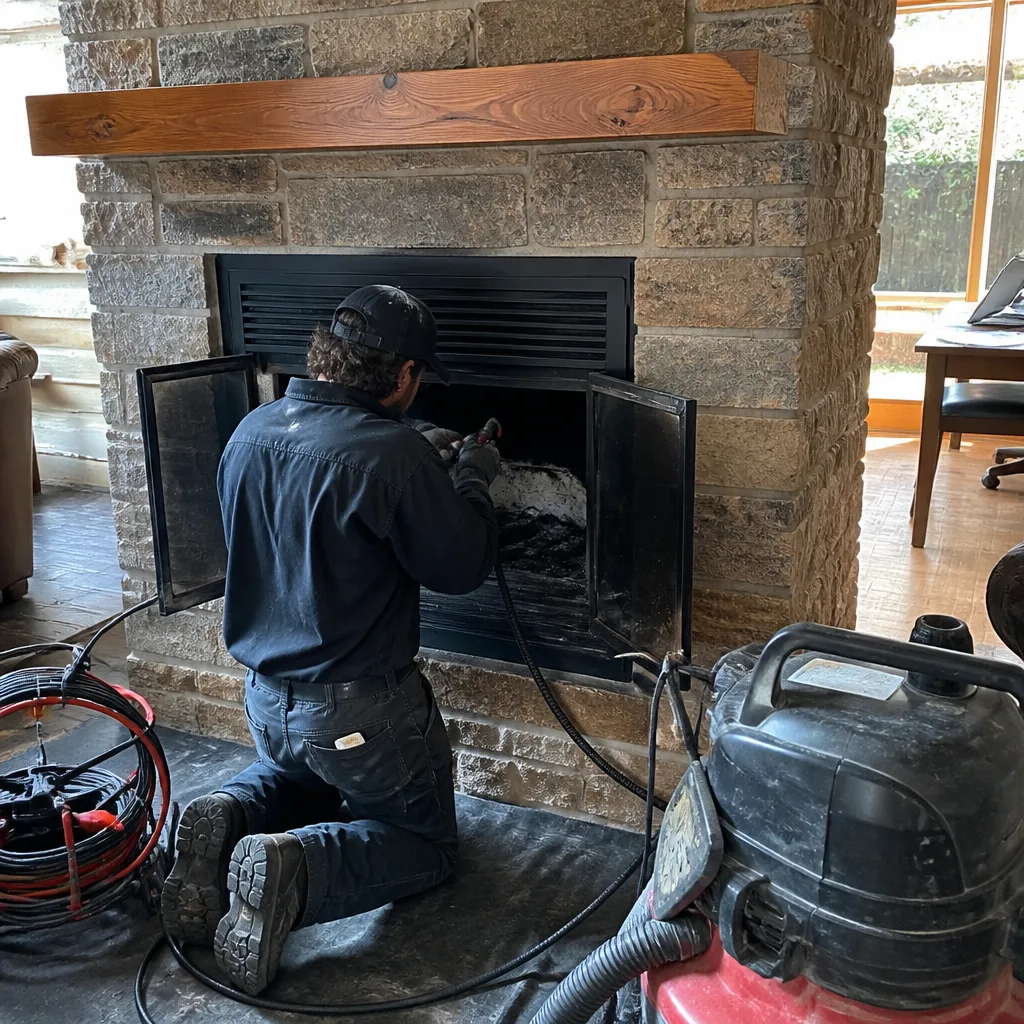 After
AfterOlympia Chimney Crown Repair: The Boulder Owner’s Guide
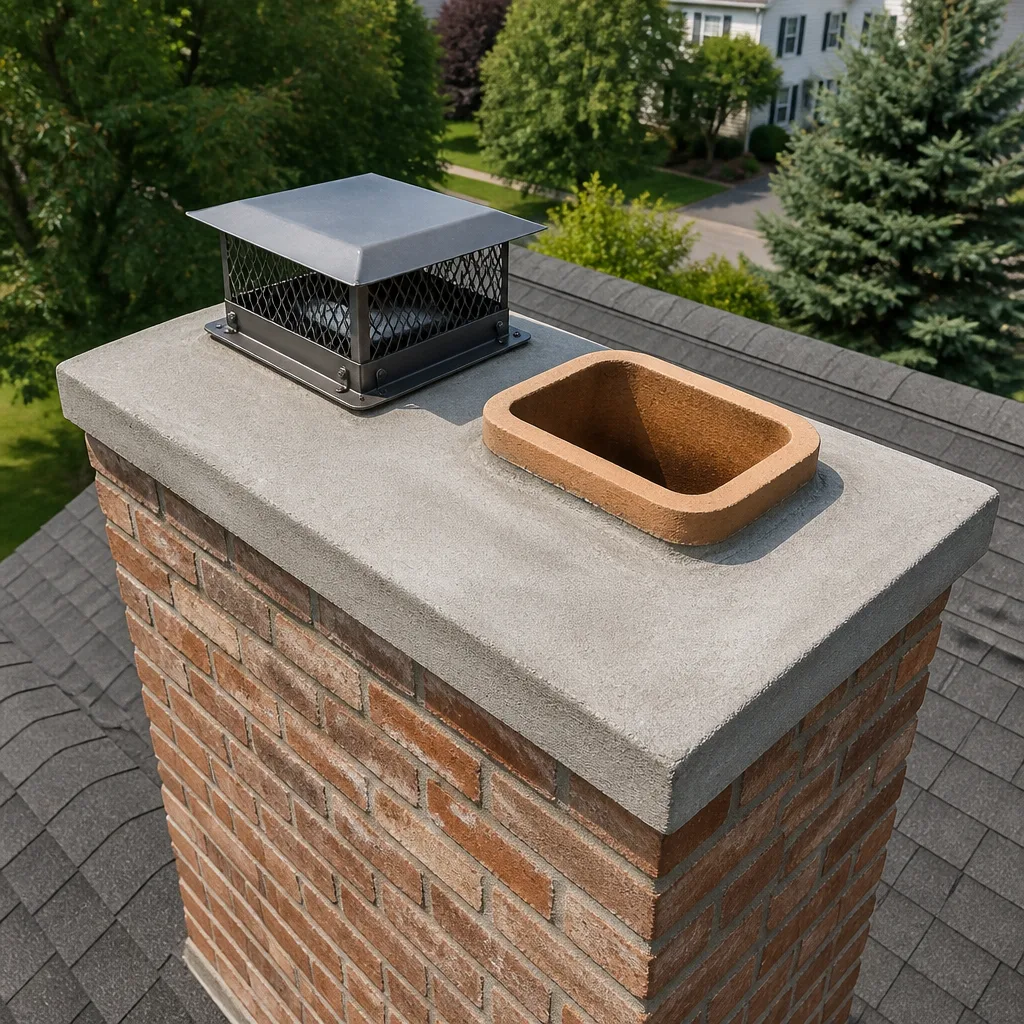
Olympia Chimney crown repair in Boulder typically runs $340-$780 installed, depending on whether we’re sealing hairline cracks or pouring a new cast-in-place crown. We stock Olympia Chimney-compatible crown sealants and forming materials on our trucks, and most repairs are completed in a single visit. Most Boulder homeowners discover the problem after spotting water stains on the ceiling near the fireplace or noticing sand-like debris in the firebox - both signs that the concrete crown atop the chimney has cracked and is letting moisture past the flue.
At altitude in Boulder, with our freeze-thaw cycles and dry winters that pull moisture through masonry fast, a compromised crown doesn’t stay a small problem for long. Corrine Halstead and our crew have replaced and sealed crowns on Olympia Chimney systems throughout Mapleton Hill, Chautauqua, and the newer builds off Arapahoe - and the pattern is consistent: the damage is always worse than it looks from the ground.
Which Olympia Chimney Models This Applies To
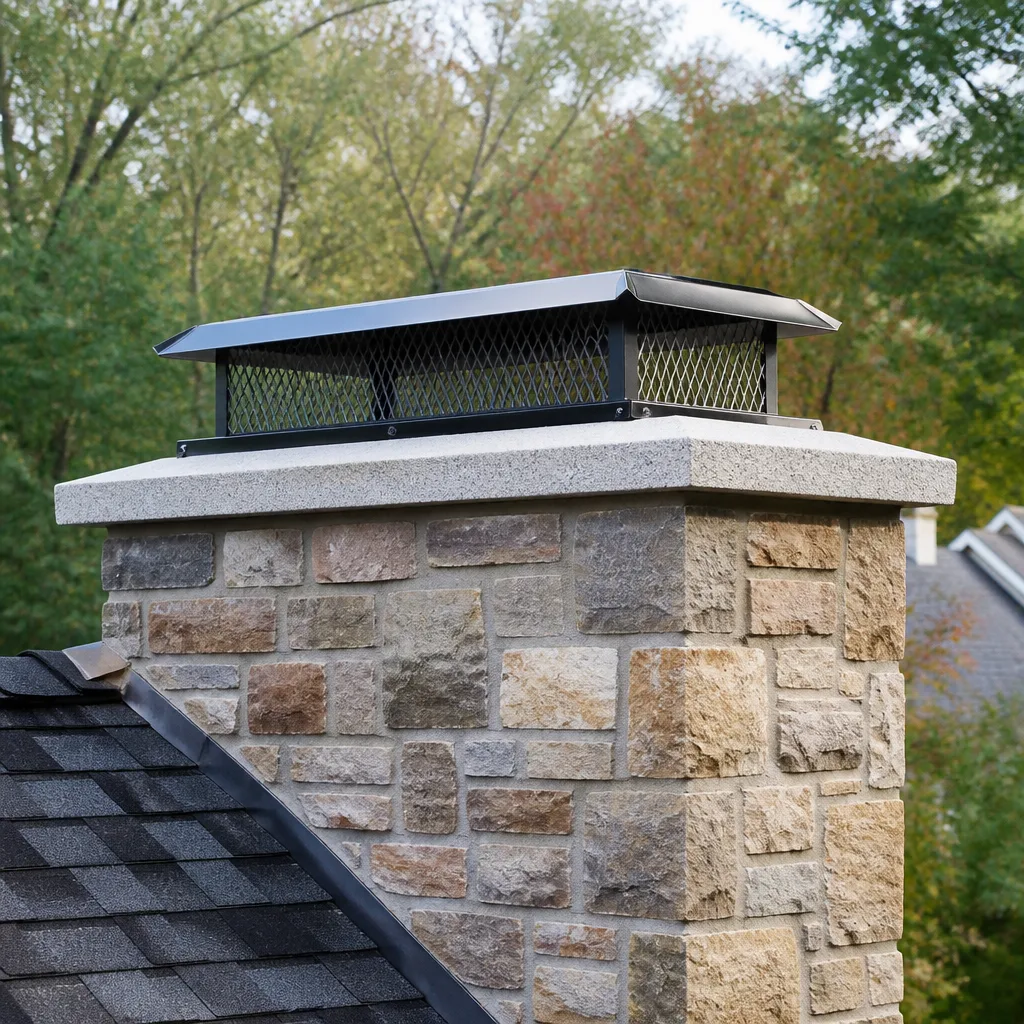
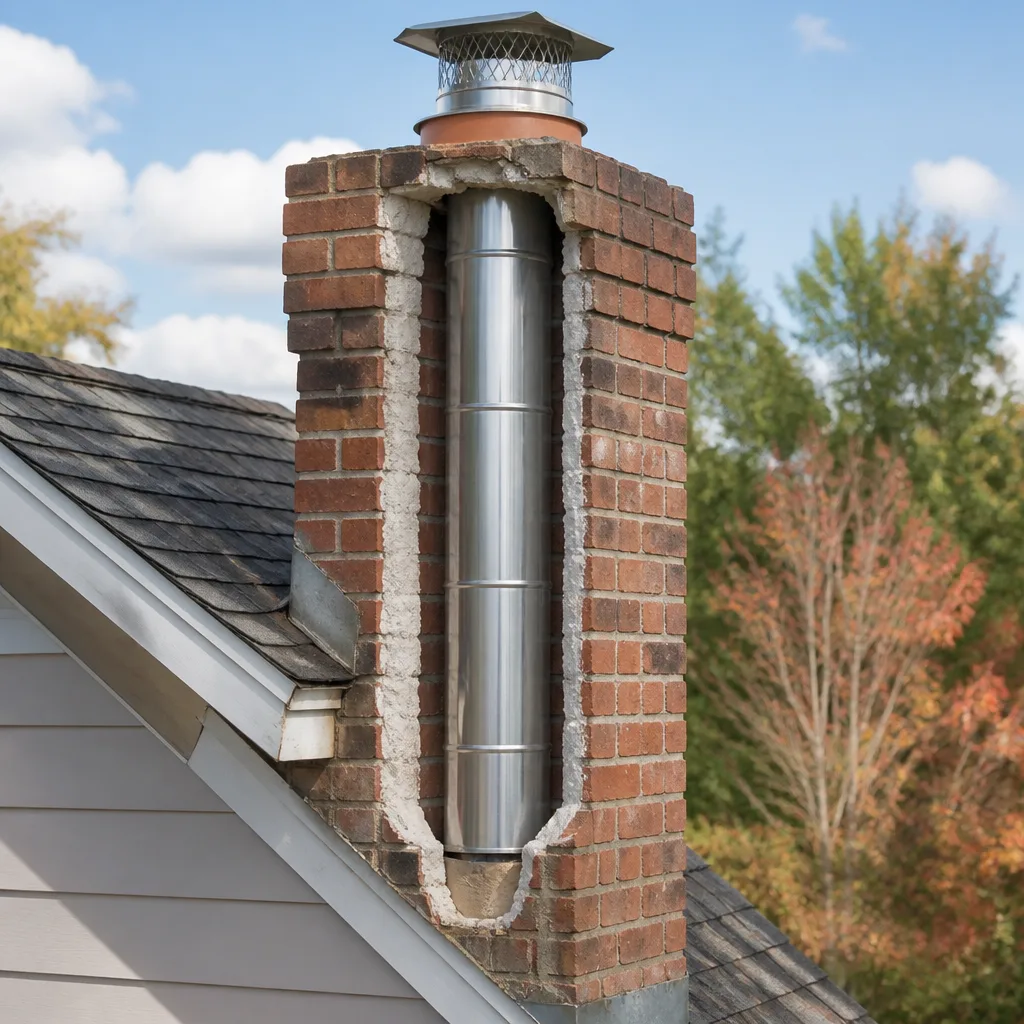
Olympia Chimney manufactures stainless steel chimney liner systems, not the masonry crown itself. The crown is the poured concrete cap that seals the top of your masonry chimney chase, protecting the Olympia liner and flue from water intrusion. What matters for repair is the chase dimensions and flue opening configuration - whether your Olympia liner is a 5.5-inch, 6-inch, or 8-inch diameter, and whether it terminates with a standard rain cap or a top-sealing damper.
We carry HeatShield CrownSeal and Gelco crown-forming compounds in our Haven buying network, both specified for compatibility with stainless steel liner systems like Olympia’s. OEM crown repair materials don’t exist from Olympia Chimney directly - they don’t manufacture masonry components - so the quality decision comes down to the sealant spec and the installer’s forming technique. We use elastomeric compounds rated to 2,000°F with 300% elongation, which matters in Boulder because our UV exposure and thermal cycling will crack rigid Portland-based patches within two seasons.
To identify your setup: check the metal tag on your Olympia liner (usually visible from the firebox or cleanout) for the model series - 316Ti or 304 alloys are most common in Colorado installs from 2015-2023. The crown repair approach differs if your flue has a cricket (a peaked diverter behind the chimney on sloped roofs), which is common in the older homes near downtown Boulder.
Signs Your Olympia Chimney Crown Is Failing
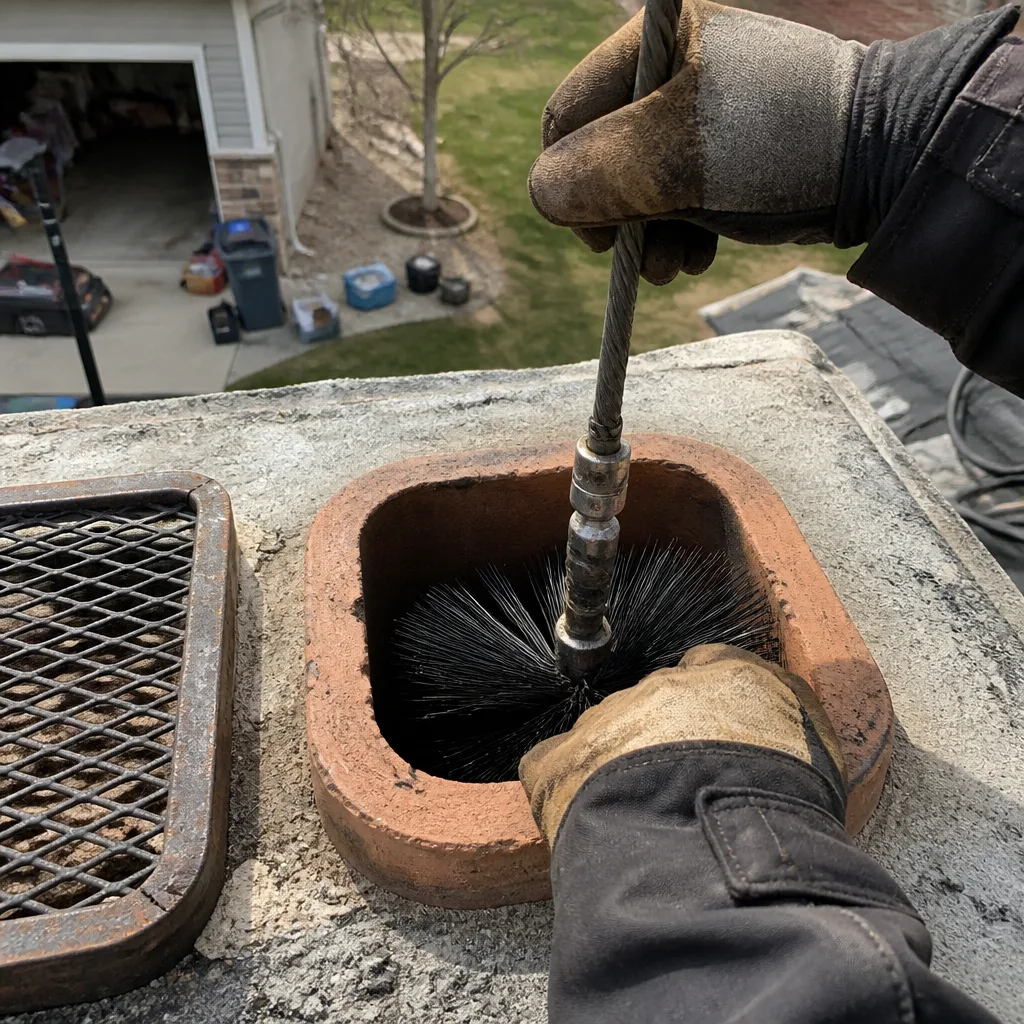
- Water stains on the ceiling near the chimney breast. The crown’s primary job is to shed water away from the flue opening. When cracks develop - often from freeze-thaw at Boulder’s 5,400-foot elevation - water follows the liner down into the smoke chamber and leaks out at the thimble or ceiling junction. We see this most often in homes built between 1985 and 2005 with original crowns.
- Sandy concrete debris in the firebox or cleanout. This is spalling: the surface of the crown concrete is deteriorating, shedding aggregate as water trapped inside freezes and expands. In Boulder’s dry climate, the moisture that causes this usually comes from interior combustion gases condensing in a cool flue, not from rain alone.
- Visible cracks or missing chunks on the crown surface. Hairline cracks under 1/16 inch can sometimes be sealed; anything wider, or any crack that runs to the flue edge, means water has a direct path. From the street these look minor. From our camera on the roof, we can trace where that crack terminates.
- Rust staining on the exterior masonry below the crown. When water gets past the crown, it saturates the brick or stone beneath and leaches out iron compounds. On Olympia Chimney systems, we also check for rust on the liner termination - a sign that crown failure has been ongoing long enough to reach the metal.
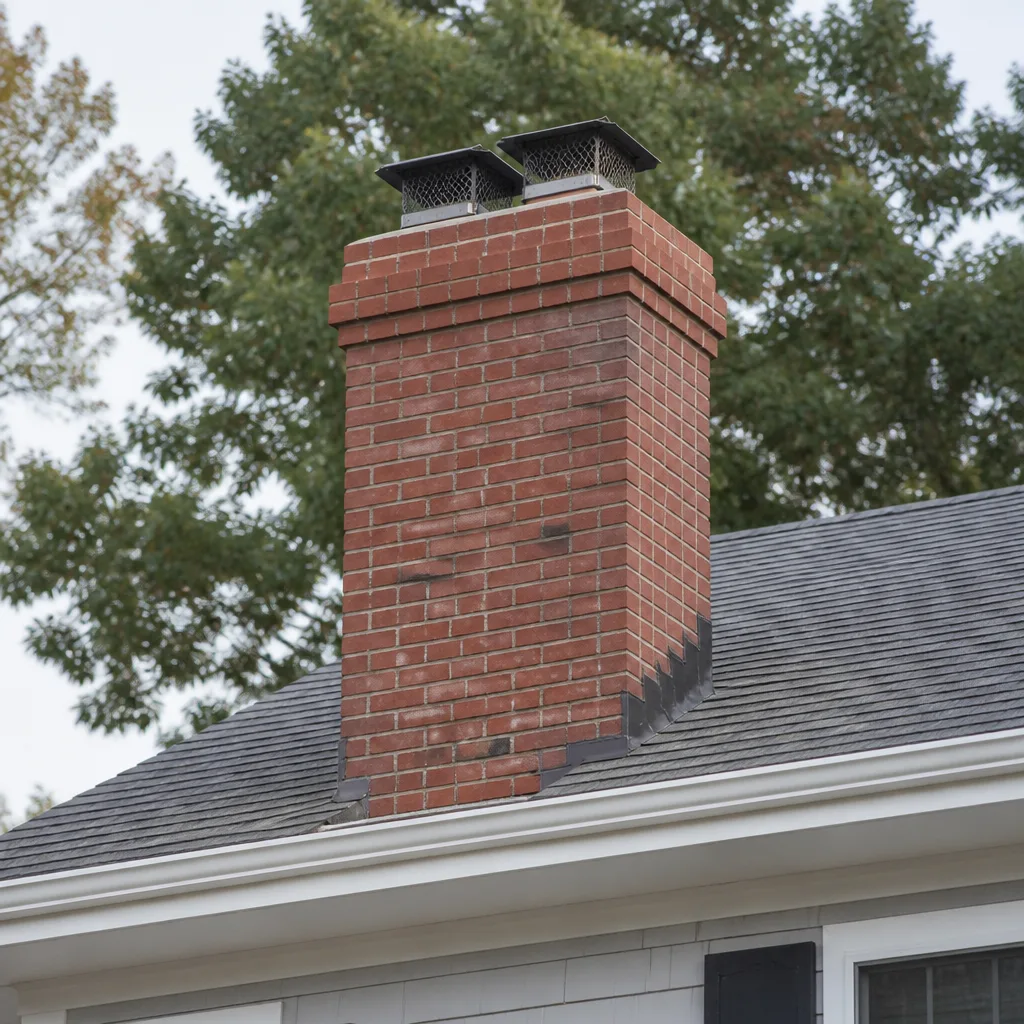
- Deteriorated mortar joints in the top 3-4 courses of brick. This is often mistaken for general masonry aging, but it’s frequently crown-related. A failed crown dumps water directly onto the chimney top, and the saturated brick experiences accelerated freeze-thaw damage. We’ve rebuilt the top courses on several Boulder chimneys where only the crown was originally quoted.
BeforeAfterReplacement Cost & What’s Included
| Repair Type | Typical Range | What’s Included |
|---|---|---|
| Crown seal (hairline cracks, intact structure) | $340-$480 | Surface prep, HeatShield CrownSeal application, photo documentation |
| Partial crown rebuild (cracked through, sound base) | $520-$680 | Forming, pour, cure protection, flue edge seal, photo documentation |
| Full crown replacement + top course repair | $680-$780 | Demolition, forming, pour, extended overhang, drip edge, photo documentation |
The range depends on three things: how much of the crown is salvageable, whether the top brick courses need repointing once the old crown comes off, and roof access. Steep pitches or multi-story chimneys in the foothills neighborhoods require additional safety setup. Every repair includes our NFPA 211 Level 2 camera inspection of the flue interior - Clause 4 of the Haven Standard requires it - so we can document that the liner wasn’t damaged by the water intrusion. We deliver a written price before any work starts, and the 365-Day Done Right Promise covers the repair.
DIY or Call Us?
There’s one thing a homeowner can safely check: look at the crown from the ground with binoculars for visible cracks, missing pieces, or pooling water. If you see any of the five symptoms above, the next step is a roof-level inspection - and that’s where DIY ends.
Crown repair involves working at height on a sloped surface, often with compromised footing from granule loss or moss. The forming and pouring requires consistent thickness (minimum 2 inches at the edge, 4 inches at the flue), proper slope for drainage, and a drip edge that doesn’t direct water back onto the brick. We’ve been called to fix DIY crown jobs where the homeowner used standard concrete mix (wrong - it needs air entrainment for freeze-thaw) or sealed active cracks with caulk (traps water, accelerates spalling). The camera doesn’t guess. Neither do I. Call (970) 598-0453 and we’ll get you a written price before anyone starts.
FAQs
A properly sealed crown lasts 8-12 years; a full replacement with modern elastomeric additives should go 15-20. Boulder’s 300+ days of annual UV exposure and sharp freeze-thaw at altitude are harder on crowns than Denver’s milder climate, so we spec materials rated for mountain west conditions. Call (970) 598-0453 for an exact quote - estimates are free.
Yes, if the crack network is superficial and the concrete base is sound. We verify this with a hammer test and moisture meter on the roof - not from the ground. If the crown rings hollow or we get moisture readings above 15% in the concrete, replacement is the honest recommendation. Clause 1 of the Haven Standard requires that written scope before work starts, so you’ll see the photo evidence yourself.
Most crown seal jobs take 2-3 hours; a full replacement with cure time is typically a half-day. We schedule so the technician isn’t rushing the cure - in Boulder’s dry air, CrownSeal sets fast, but we still protect fresh pours from afternoon hail or sudden temperature drops. You’ll get a text when your tech is en route.
We stock HeatShield CrownSeal, Gelco forming compounds, and stainless steel drip-edge flashing compatible with Olympia Chimney liner terminations. Full crown replacements require a custom form built to your chase dimensions, which we fabricate on-site. We’re an independent service provider - not affiliated with Olympia Chimney - and we source materials through our Haven buying network to keep pricing honest.
Written by Corrine Halstead, Owner, Emberly Chimney Cleaners Boulder at Emberly Chimney Cleaners Boulder, serving Boulder and nearby areas.